
Understanding the Night Sky
Photographing the night sky opens up a world of stunning visuals, from the shimmering stars to the majestic Milky Way. Before you begin your astrophotography journey, it’s essential to understand the celestial mechanics that influence your shots. Familiarize yourself with the phases of the moon, as a full moon can wash out the stars’ visibility. Plan your outings around new moons or when the moon is below the horizon. Additionally, scouting locations with minimal light pollution will greatly enhance the quality of your images. Utilize apps like SkySafari or Star Walk to help you identify constellations and celestial events.
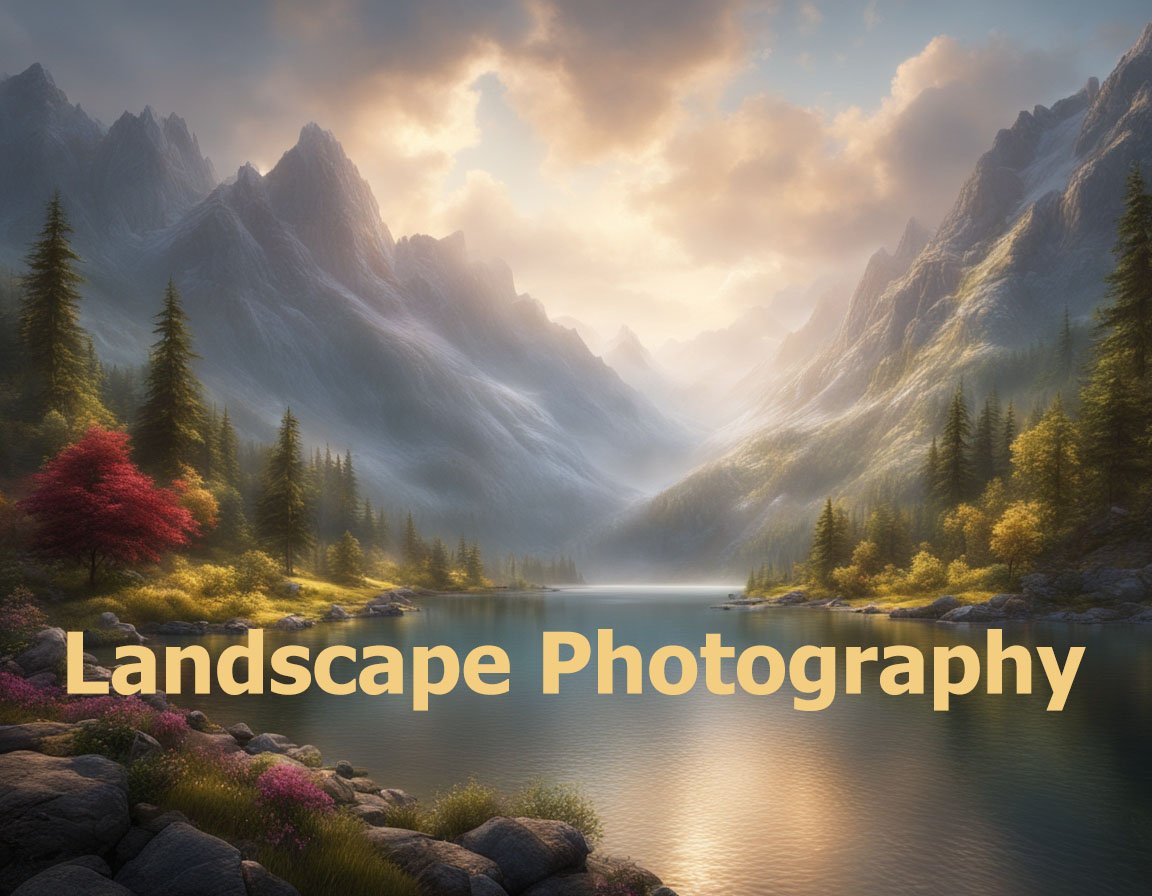
Choosing the Right Equipment
The right equipment is critical for capturing the beauty of the night sky. A DSLR or mirrorless camera with manual settings is ideal, as it allows for greater control over exposure and focus. Pair your camera with a sturdy tripod to ensure stability during long exposures. A wide-angle lens with a large aperture (f/2.8 or wider) is recommended to capture more light and expand your field of view. Don’t forget to bring extra batteries and memory cards, as cold temperatures can drain batteries quickly, and long sessions can fill up storage rapidly.
Setting Up Your Composition
Composition is key in landscape astrophotography. Start by scouting your location during the day to find interesting foreground elements, such as trees, rocks, or buildings that can add depth to your shot. Incorporating these elements creates a more engaging image. Consider the rule of thirds when framing your shot; placing the horizon line in the lower third of the frame allows the sky to become a focal point. Experiment with different angles and perspectives to find the most compelling composition.
Camera Settings for Astrophotography
Getting the right camera settings is crucial for capturing the night sky effectively. Start with a high ISO setting (around 1600 to 3200) to increase your camera’s sensitivity to light. Set your aperture to its widest setting to allow maximum light in. Use a shutter speed of around 15 to 30 seconds, but be cautious of star trails; longer exposures can cause stars to appear as streaks instead of points. Use manual focus, setting it to infinity, and take test shots to ensure you achieve the desired exposure.
Utilizing Light and Timing
The timing of your shoot can dramatically affect the outcome of your photographs. The best time for astrophotography is typically between midnight and dawn when the sky is darkest. However, twilight can also create stunning effects as the sky transitions from daylight to night. Keep an eye on weather conditions, as a clear sky will provide the best visibility for stars. Additionally, consider using light painting techniques to illuminate your foreground elements subtly without overpowering the night sky.
Post-Processing Techniques
Post-processing is an essential step in astrophotography that can elevate your images significantly. Utilize software like Adobe Lightroom or Photoshop to enhance details, adjust exposure, and correct color balance. Start by applying noise reduction to minimize graininess often introduced by high ISO settings. Adjust contrast and clarity to bring out the stars and foreground details. Stacking multiple images can also help reduce noise and improve overall image quality. Experiment with different techniques to find the style that best represents your vision.
Sharing Your Work
Once you have captured and edited your astrophotography images, it’s time to share your work with the world. Social media platforms such as Instagram and photography forums provide excellent venues for showcasing your images. Consider entering photography contests or exhibitions to gain recognition. Engaging with fellow astrophotographers can also provide valuable feedback and foster connections within the community. Remember to take pride in your work and enjoy the beauty of the night sky through your lens.