
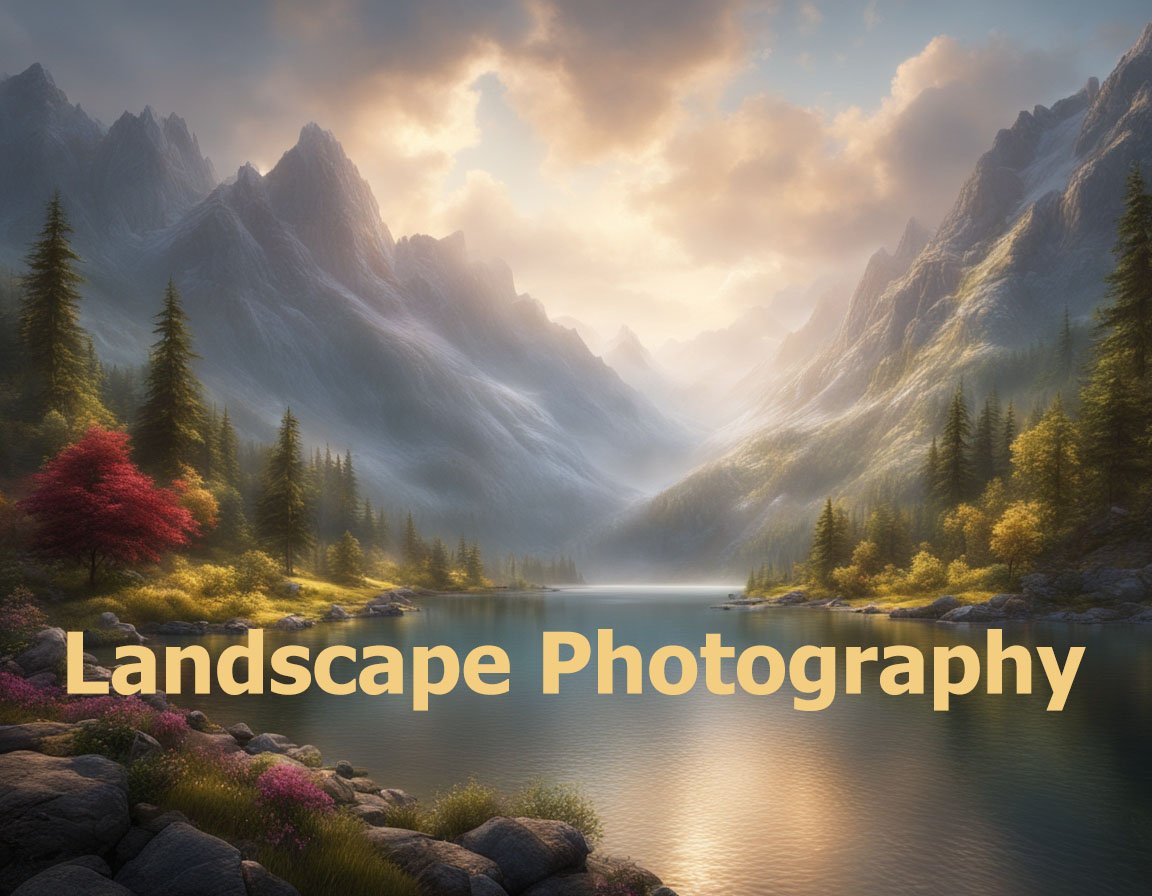
Understanding the Magic of Golden Hour
Golden hour, the period right after sunrise and just before sunset, is a magical time for landscape photographers. During this brief window, the sun is low in the sky, casting a soft, warm glow over the world. This unique lighting can transform an ordinary scene into something spectacular. But to truly master golden hour lighting, photographers need more than just punctuality; they need an understanding of how light interacts with the landscape.
The Science Behind Golden Hour
Golden hour occurs because of the angle of the sun relative to the Earth. When the sun is near the horizon, its rays pass through more of the Earth’s atmosphere. This scattering effect causes the shorter blue wavelengths to filter out and allows longer red, orange, and yellow wavelengths to dominate. Consequently, this warm tone bathes the landscape, enhancing colors and adding depth to every scene.
Soft Light vs. Harsh Light
The difference between soft and harsh light is critical in photography. Soft light, which is prevalent during the golden hour, lends a gentle touch, enhancing textures and depth without creating deep shadows. Harsh light, by contrast, often results in high contrast and can eliminate detail. Understanding this balance is crucial for landscape photographers aiming to capture the essence of a scene.
The Perfect Timing
Timing your shoot is essential when harnessing the golden hour. As the duration of golden hour varies based on geographical location, time of year, and weather conditions, getting a reliable forecast or using an app specifically designed for photographers can help in planning your shoot. During summer, golden hour lasts longer than in the winter. Therefore, knowing when the sun will rise and set based on your location is the first step in mastering this beautiful lighting.
Techniques for Capturing the Best Golden Hour Shots
Merely showing up during golden hour does not guarantee a stunning photograph. Effective techniques and an understanding of the various elements at play can elevate an average shot to an extraordinary one.
Choosing the Right Settings
When preparing to shoot during golden hour, camera settings become paramount. Shooting in manual mode gives you complete control over your exposure settings, which helps you adapt to the rapidly changing light conditions.
ISO Settings
Start by setting your camera to the lowest ISO possible to maintain image quality. Golden hour light is abundant but doesn’t have the intensity of midday sun, so you can take advantage of the softer light without raising the ISO, which could introduce noise.
Aperture and Depth of Field
Your choice of aperture will impact the depth of field. A wider aperture (f/2.8-f/5.6) can create a beautiful bokeh effect, separating your subject from the background. Conversely, a narrower aperture (f/8-f/11) ensures that more of the scene stays in sharp focus. This is particularly useful when capturing expansive landscapes.
Shutter Speed
To counterbalance low light conditions while maintaining a flexible ISO, adjust your shutter speed. A slower shutter speed allows more light to hit the sensor but necessitates the use of a tripod to prevent camera shake. Alternatively, keeping a faster shutter speed guarantees crispness and is suitable for scenes with movement, like waves breaking against the shore.
Composing the Perfect Shot
Composition can make or break a photograph. Golden hour’s unique light provides an opportunity to highlight particular elements of your landscape.
The Rule of Thirds
Positioning key elements along the imaginary lines or at their intersections enhances balance and interest. When the horizon appears, avoid placing it dead center. Instead, position it in the upper or lower third of the frame to emphasize either the land or sky.
Leading Lines
Utilize natural lines to guide the viewer’s eye through the photo. This can be a road leading to the horizon, a river meandering through the scene, or the natural curvature of hills and mountains. Golden hour highlights these elements, naturally drawing the viewer’s eye.
Enhancing the Golden Glow
While the golden hour naturally infuses photographs with warmth, you can enhance this effect even further.
White Balance Adjustments
Adjusting your white balance can accentuate the golden hues or counteract them if they become overwhelming. Use the ‘Cloudy’ or ‘Shade’ settings to intensify the warm tones, or manually adjust the Kelvin scale if you’re looking for precision.
Using Filters
Invest in a polarizing filter to manage reflections and enhance the sky’s saturation. Additionally, a neutral density filter can help in situations with bright highlights, maintaining consistent exposure without sacrificing the golden light’s distinctiveness.
Post-Processing Techniques
Leverage post-processing software to accentuate the golden hour effect. Adjusting the levels, curves, and vibrance can perfect the balance of colors and contrast. Be mindful not to over-edit; the goal is to complement nature’s palette, not overpower it.
Reading the Landscape
Successful landscape photographers combine technical knowledge with instinct. Reading the landscape involves understanding the relationship between light, form, and texture.
Spotting Potential Subjects
Golden hour transforms conventional subjects. A tree, a hill, or a patch of flowers can become extraordinary under the right light. Explore how the light changes the mood of these elements and look for areas where the light plays best.
Embracing the Shadows
While golden hour light is gentle, shadows remain an impactful component. Rather than avoiding them, use shadows to add depth and dimension or to frame your subject in the scene.
Adaptability in Changing Conditions
Weather, atmospheric conditions, and geographical factors can alter expected outcomes. Clouds can diffuse light, creating a softer glow, while clear skies intensify colors. Therefore, wisdom lies in working with what nature presents. Be prepared to adapt your plan, your settings, and your angles to capture the landscape in its transient glory.
Experimentation and Artistic Expression
Golden hour is not merely about capturing reality; it’s an opportunity for artistic expression.
Playing with Perspectives
Challenge yourself by changing your point of view. Shooting from low angles can give subjects a monumental feel, whereas high perspectives might provide a sweeping view of the landscape bathed in golden light.
Capture Reflections
Bodies of water act as mirrors, reflecting the golden sky and creating symmetry. Incorporating reflections in compositions can double the visual impact and create a sense of harmony.
Long Exposures
Experiment with long exposures to capture smooth water flows or to highlight the movement of clouds across the sky. The subtle movement within an ancient, still landscape introduces an ethereal quality to your work.
Golden hour offers a canvas colored by nature, inviting photographers to paint with light. Mastering this ephemeral time requires more than technical prowess; it calls for an understanding of light, anticipation, and the courage to experiment. The ultimate aim is not to record the world as it is but to capture the fleeting beauty of a moment, illuminated gold by a setting or rising sun.