Understanding Long Exposure Photography
Long exposure photography is a captivating technique that allows photographers to capture the beauty of movement over time. By using a slow shutter speed, you can create stunning images that transform ordinary scenes into extraordinary works of art. This method is particularly effective in night photography, where the interplay of light and darkness can lead to breathtaking results. Mastering this technique requires an understanding of the fundamentals, including the importance of timing, light sources, and camera settings.
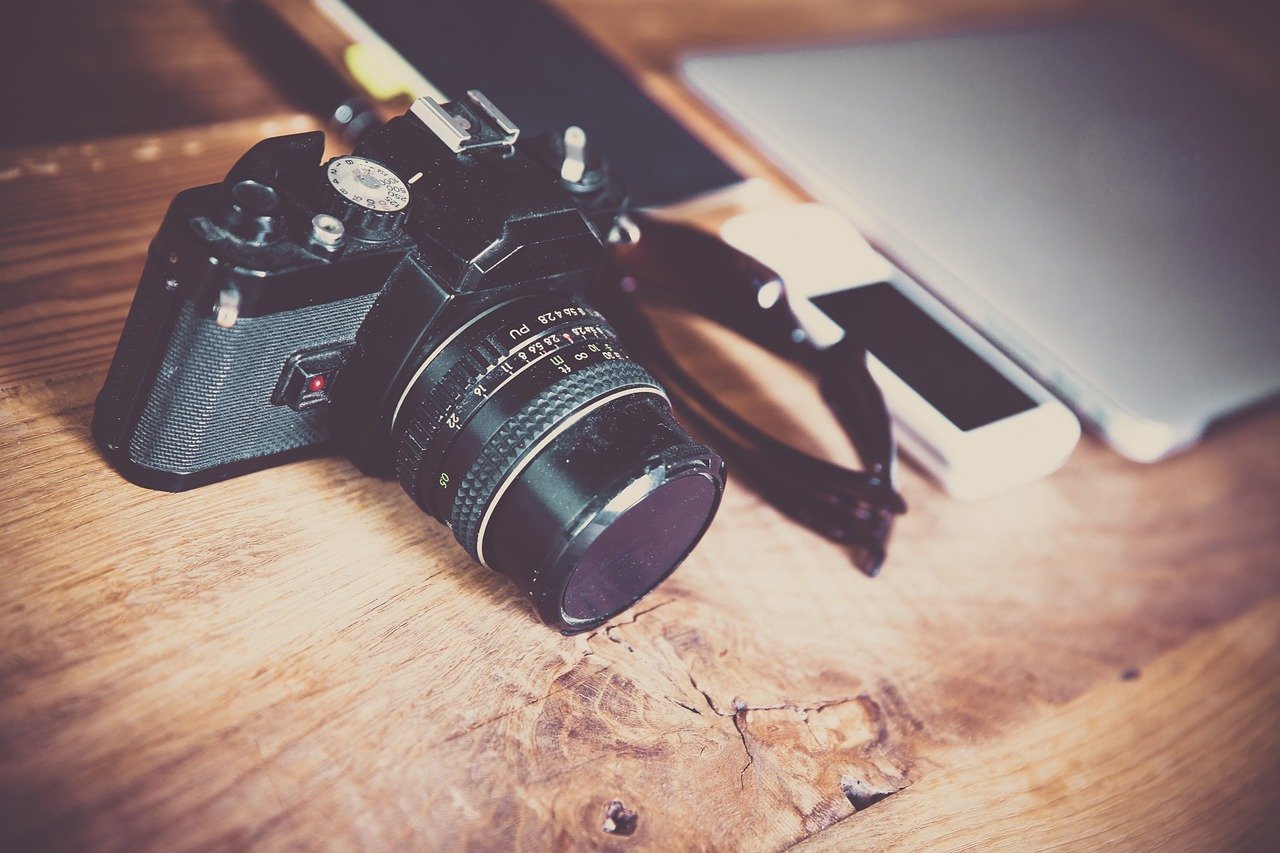
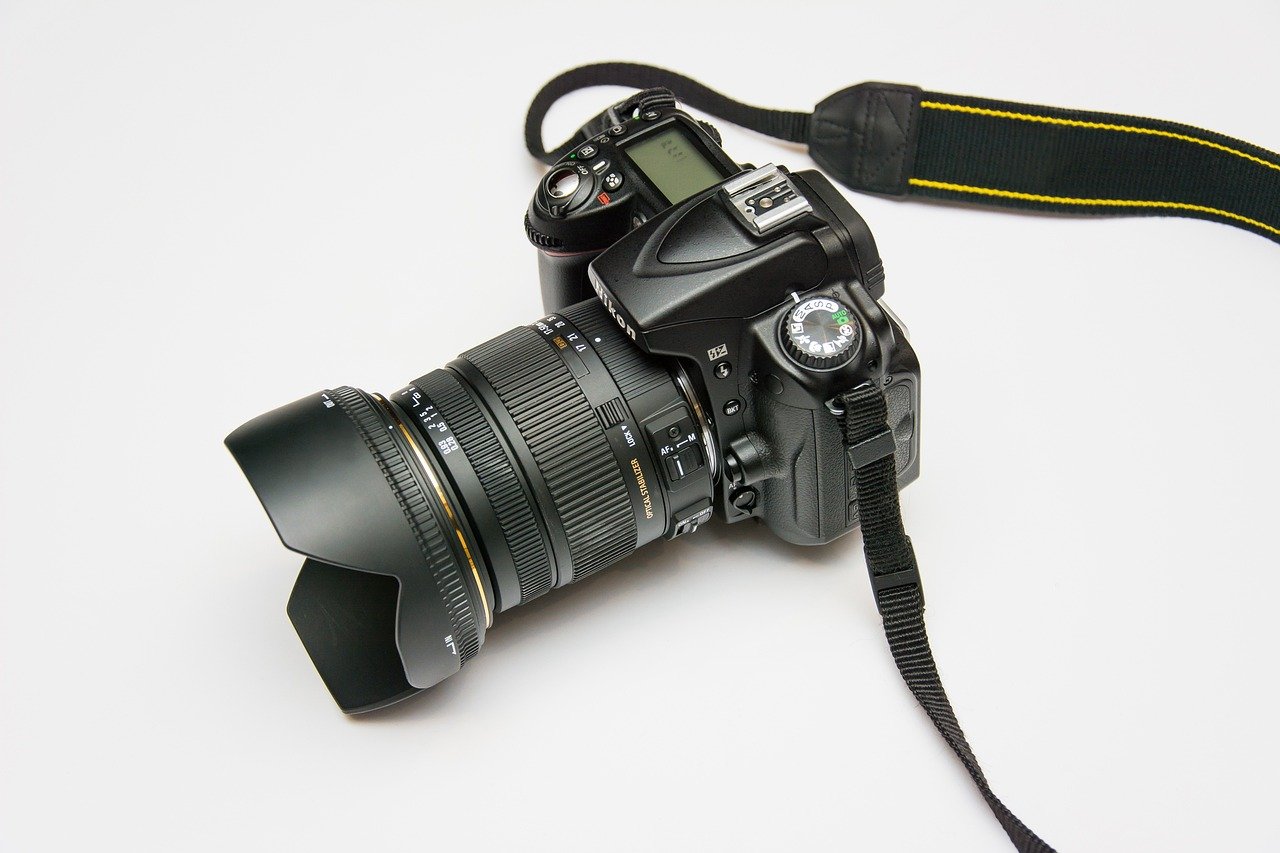
Essential Equipment for Long Exposure Night Photography
To achieve stunning long exposure shots at night, specific equipment is essential. A sturdy tripod is a must-have, as it stabilizes your camera during the extended exposure times. Any movement can blur your image, so ensuring a solid base is crucial. Additionally, a remote shutter release or self-timer can prevent camera shake when pressing the shutter button.
Another important tool is a neutral density (ND) filter, which reduces the amount of light entering the lens. This allows for longer exposures even in brighter conditions, giving you more creative control. Lastly, consider using a camera with manual settings, enabling you to adjust the shutter speed, aperture, and ISO according to the scene.
Choosing the Right Location and Time
The success of your long exposure night photography largely depends on the location and timing of your shoot. Urban areas with plentiful light sources—such as streetlights, traffic, and neon signs—can create dynamic images filled with movement and color. Natural landscapes can also be stunning at night, particularly if you have access to clear skies for capturing stars or celestial events.
Plan your shoot around the golden hour or blue hour, when the sky is still illuminated but the sun has set. This provides a perfect balance of light, enhancing the overall mood of your photographs. Additionally, consider the weather; clear nights offer the best visibility for night photography, while clouds can obscure light sources and diminish the impact of your images.
Camera Settings for Long Exposure
Getting the settings right is crucial for achieving the desired effect in long exposure photography. Start by setting your camera to manual mode to have full control over the exposure parameters. A slow shutter speed—ranging from several seconds to minutes—is essential for capturing movement; however, the exact duration will depend on the specific scene and your artistic vision.
Set a low ISO (around 100-200) to minimize noise in your images, as high ISO settings can introduce graininess, especially in low-light conditions. Your aperture setting also plays a significant role; a mid-range aperture (f/8 to f/16) is often ideal for achieving sharpness throughout the image. Experimentation is key, so take multiple shots with varying settings to find the perfect balance for your scene.
Incorporating Movement and Light Trails
One of the most exciting aspects of long exposure photography is the ability to incorporate movement into your images. This can include light trails from cars, the motion of clouds, or the gentle flow of water in a stream. To capture light trails, position your camera in a spot where vehicles or pedestrians will pass through the frame. Use a longer exposure time to trace their movement, creating dynamic lines that lead the viewer’s eye through the photograph.
For natural elements, such as waterfalls or ocean waves, a longer exposure will blur the motion, resulting in a silky, ethereal effect. The key is to experiment with different exposure times to see how they affect the appearance of movement in your images.
Post-Processing for Enhanced Effects
Once you’ve captured your long exposure photographs, post-processing can elevate your images to the next level. Software such as Adobe Lightroom or Photoshop allows you to adjust exposure, contrast, and color balance, enhancing the overall impact of the photograph.
Consider increasing the clarity to bring out details in the foreground while softening the background for a dreamy effect. You can also play with gradients and filters to add depth or create a moody atmosphere. Remember, the goal of post-processing is not to alter the essence of your photograph but to enhance its natural beauty and convey your artistic vision.
Conclusion: Practice and Patience
Mastering long exposure techniques for stunning night photography takes time and practice. Don’t be discouraged by initial setbacks; each shot is a learning opportunity. The more you experiment with different locations, settings, and compositions, the more you will develop your unique style and vision. Embrace the challenge, and remember that some of the most breathtaking images come from moments of exploration and creativity. With dedication and an eye for detail, you can capture the magic of the night through long exposure photography.