
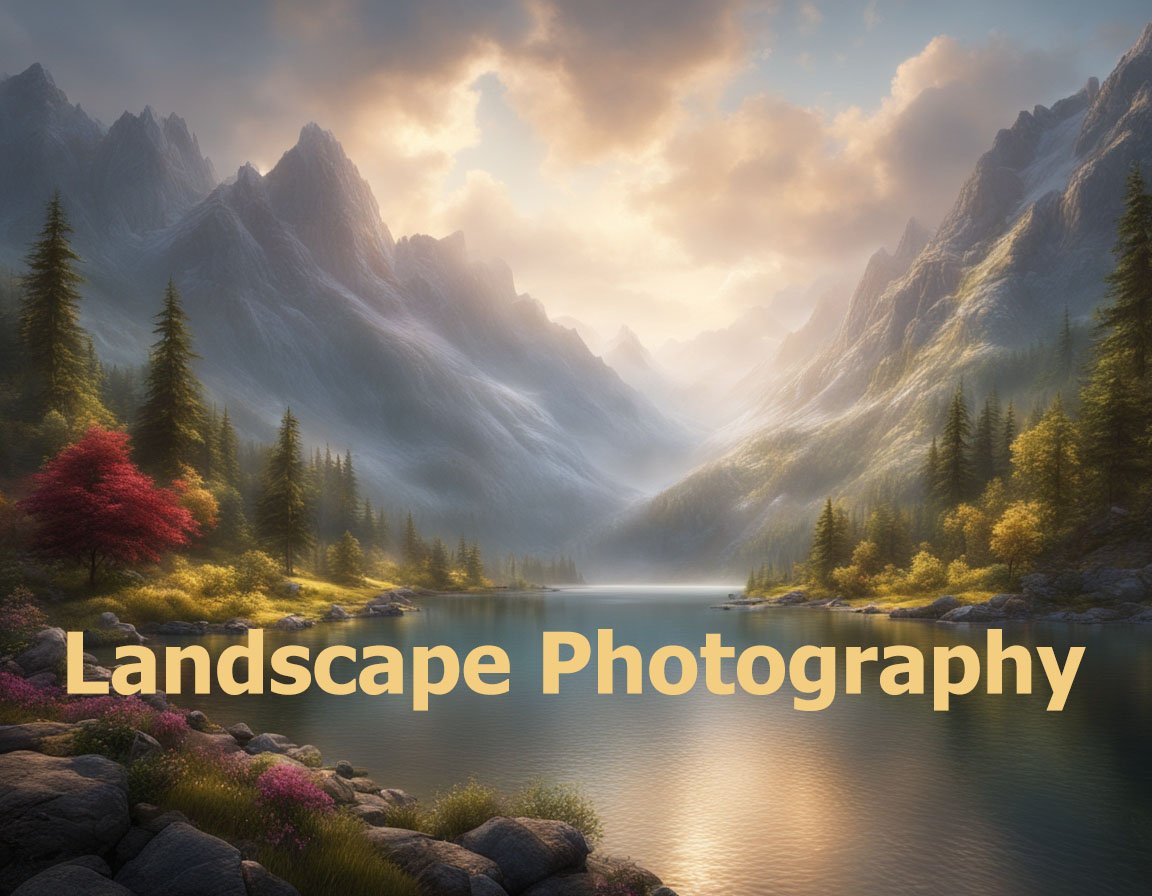
Enhancing Your Photography: Capturing Dramatic Skies
Understanding the Role of Natural Light
Natural light is a crucial element in creating dramatic skies in photography. To make the most of it, paying attention to the time of day and weather conditions can be the difference between an ordinary and an extraordinary sky. The golden hour, which occurs shortly after sunrise and before sunset, often provides soft, warm lighting that can amplify colors in the sky. On the other hand, the blue hour, just before sunrise and after sunset, infuses skies with a cooler, more ethereal hue.
Timing Your Shoot
Timing is everything when it comes to capturing atmospheric skies. Patience is key if you’re waiting for a dramatic change, such as a storm approaching or dissipating. It helps to study weather patterns, as clouds can add texture and depth to your images. Midday harsh sunlight can often wash out these elements, so sticking to early morning or late afternoon is usually best for capturing such scenes.
Choosing the Right Equipment and Settings
Your camera’s potential plays a significant role in the outcome of sky photography. While a fancy camera isn’t a necessity, understanding your equipment is vital to realizing its full capabilities.
Camera and Lens Selection
A camera with good dynamic range and manual settings options can enhance your sky photography. Wide-angle lenses are particularly popular for capturing expansive skies. These lenses allow you to include more of the sky and surrounding landscape. However, telephoto lenses can create intriguing compositions by focusing on specific elements, such as cumulus clouds or a sunset.
Optimizing Camera Settings
Manual mode is your friend for dramatic skies. By manually adjusting the ISO, aperture, and shutter speed, you have better control over the exposure, ensuring that no details are lost. A low ISO setting (100-200) is optimal for a clean image with minimal noise. Your aperture (f/8-f/16) should balance the focus between clouds and foreground elements, and the shutter speed may require adjustment based on the sky’s brightness and movement.
Utilizing Post-Processing Techniques
Photo editing software can be a powerful tool in enhancing sky photos. Subtle adjustments can further dramatize or bring out the natural beauty of your subject.
Editing Software Selection
While Adobe Photoshop and Lightroom are industry standards for photo editing, there are also free alternatives like GIMP and Darktable that offer robust features for those on a budget. These programs allow photographers to enhance colors, adjust contrast, and recover details from overexposed or underexposed areas.
Basic Editing Techniques
Start with adjusting the contrast to make the sky pop. Increasing the contrast can create a starker difference between clouds and sky. Next, you can fine-tune the highlights and shadows to bring out details in both bright and dark areas. Vibrancy and saturation sliders will let you enrich the sky’s colors without overdoing them. Subtle vignette at the corners can also help to draw viewers’ eyes toward the sky.
Advanced Techniques for Interesting Skies
For those looking to push their creativity further, additional strategies involve combining multiple photo elements or using more advanced editing features.
High Dynamic Range (HDR)
HDR photography involves taking multiple exposures of the same scene and combining them to create a single image that captures the full range of light in the scene. This technique is especially useful for capturing skies with bright highlights and deep shadows, seamlessly blending them to reflect what your eyes see.
Long Exposure Photography
Long exposure techniques can introduce an element of motion and drama to your sky photos. By using a neutral density (ND) filter, you can reduce the amount of light entering the lens, allowing for longer exposure times even during daylight. This can smooth out clouds into ethereal streaks and add a dreamy quality to seascapes or cityscapes.
Leveraging Natural Phenomena
Natural events can serve as spectacular backdrops for sky photography, transforming ordinary scenes into extraordinary ones.
Capturing Storms
Storms often bring a dramatic and ever-changing sky, offering a perfect opportunity to capture powerful and dynamic images. Safety should always be a priority; position yourself at a safe distance while using a tripod for stability. Fast shutter speeds can freeze lightning strikes, while long exposures can highlight cloud movement and show patterns in rain.
Working with Sunrises and Sunsets
Few scenes rival the majesty of a sunrise or sunset sky. The key is predicting the changes in light and color which happen swiftly. Arriving at your location early and setting up beforehand allows you to capture every phase as the sky evolves from pastel shades to vibrant colors and vice versa. Bracketing your shots ensures you catch subtle variations in exposure.
Incorporating Foreground Elements
To elevate compositions of dramatic skies, incorporating interesting foreground elements can provide context and scale, enhancing overall visual interest.
Selecting Compelling Foregrounds
The foreground should complement but not overpower the sky. Interesting silhouettes, such as tree lines, cityscapes, or architectural structures, add depth and dimension. Consider how lines, shapes, and colors in the foreground guide the viewer’s eye toward the sky.
Balancing Foreground and Sky
Achieving the right balance between sky and foreground often requires experimentation with composition. The rule of thirds can be an effective guide here; positioning the horizon line along the top or bottom third of your frame often creates a pleasing image. Break the rule strategically when you wish to emphasize the sky over the foreground or vice versa.
Experimenting with Creative Filters and Effects
Filters and various effects can reinvent how skies are captured, offering limitless possibilities to those willing to experiment.
Employing Physical Filters
Neutral density and graduated ND filters darken specific areas of the frame, allowing for longer exposures without overexposing parts of the image. Polarizing filters can reduce glare and increase color saturation, especially in blue skies and clouds.
Applying Digital Filters
In editing software, digital filters and overlays can mimic these effects or create entirely new looks. Try converting images to black and white to focus on contrast and texture without the distraction of color, or experiment with color-grading tools to achieve emotive color palettes.
With these techniques and tips, your sky photography can reach new dramatic heights. Happy shooting!